Stack-n-Slash Or Stack-n-Whack

by:Anonymous
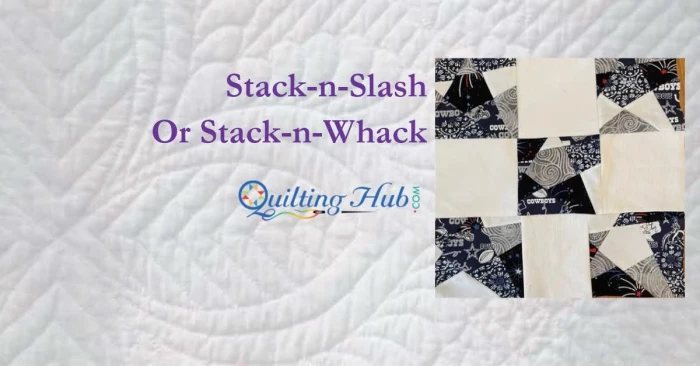
First, Stack-n-Whack is a copyrighted concept from Bethany Reynolds using identical fabric repeats. They are cut into pieces that can be stacked together and then re-cut for matching triangles that are arranged in the shape of a kaleidoscope. With this method, you will create beautiful patterns with intricate designs every time! As we dive deeper into Stack-n-Whack, here's an effortless approach to creating charming quilt blocks with kaleidoscopic designs. For this technique, a fixed set of replicate pieces should be cut from printed fabric. Rather than cutting each piece separately, you can pile and layer several large identical print rectangles for producing the stack. We'll continue exploring more about Stack-n-Whack in the latter portion of this article!
Stacking-n-Slashing a quilt involves forming an arrangement of comparable size squares, be it layer cake or scraps from your fabric stash. Creating a paper plan for the cuts is suggested due to its ability to make cutting easier; typically you want there to be as many slices as layers in order to produce the desired result. For instance, five fabric layers will require five cuts that form into multiple pieces with a star pattern at its center!
Whether you prefer a specific theme or an improvisational, more haphazard look for your crafting project, the fabric of your choice allows you to design whatever vision comes to mind. Iron each piece as you stack them together; this will make their size truer and keep them firmly in place when cutting out pieces. As with any creative endeavor, there may be some scrap material left over from squaring up fabrics - but don't let that discourage you!
To begin your project, start by laying out your plan on top of the stack and placing a ruler along the first cut line. Once you have done this, carefully slip it out from under the ruler and make a clean cut across all fabrics - this will result in two identical halves. Afterward, take one piece of fabric from the upper half and move it to its corresponding part at the bottom twice before finally stitching each piece together with its new counterpart.
As you proceed with the next four cuts, be sure to always sew each pair together. When moving fabric pieces to the bottom of your block, remember to increase them from two and eventually up to three or more until no new fabrics appear in that particular block. In most cases, this does not happen until the very last cut is completed! The result? A gorgeous finished product in which you can take pride - just like this one here!
Stack-n-Slash can be adapted to create stunning designs, such as "stained glass" where black strips are integrated between the pieces to evoke a stained-glass window. You can also use “magic inch” for an entirely different effect. To give your stars a unique and quirky look, you could intentionally make them wonky!
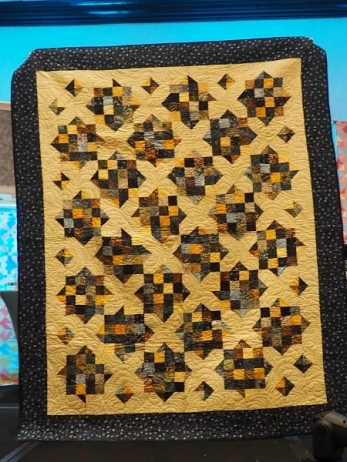
By alternating plain blocks with your patterned ones, you can create a balanced quilt and reduce any visual clutter. Furthermore, sashing is optional but gives an eye-catching look to the overall design of the quilt. A great way to alter its appearance, even more, is by cutting almost parallel—it will take it in a totally different direction!
With the current vast selection of rulers for cutting Stack-n-Slash, you can make your procedure more organized and efficient. Investing in one could be beneficial; however, it is all up to you!
Stack-n-Slash versus Stack-n-Whack
As previously mentioned, Stack-n-Whack is a copyrighted pattern by Bethany Reynolds that relies on identical repeats in fabric. These pieces are cut and stacked so they can be perfectly aligned. Here's an example: I used the princess fabric to demonstrate what exact replicas look like when cut into stacks!
When selecting fabric for a Stack-n-Whack quilt, vibrant prints with large repeats (8 to 24 inches is ideal) are best. Carefully picking the correct number of repeats and purchasing plenty extra will allow you to show off your original pattern when featured on either the border or on the back of your quilt. Of course, do not be afraid to ask the friendly staff at local quilting stores for the advice! They know how exciting it can be to see all those beautiful fabrics come together into one masterpiece, so they'd love nothing more than to help you make sure that's what happens.
When searching for the perfect fabric, quilters need to consider how much background should be present. Too little can result in dull designs, while too much may wash out or darken patterns and colors. I certainly found this out when creating my first project - it was so overshadowed by its abundant background that it resembled a bedroom at midnight! To salvage my masterpiece, I had to insert a sashing between each block of fabric...
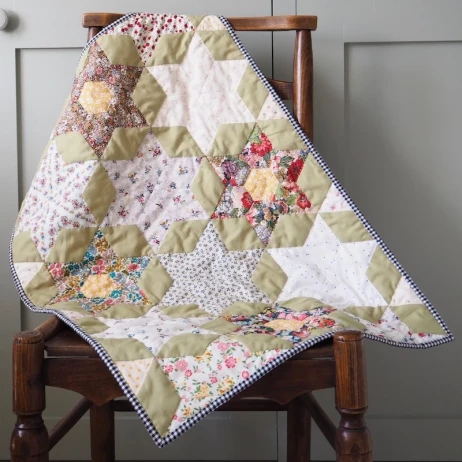
Cut fabric into the same triangles, and you'll create a gorgeous kaleidoscope hexagon. But that's not all; stars, pinwheels, fans, and rings are also achievable via Stack-n-Whack cutting! Quilters no longer have to spend hours planning out their cuts—they can now produce one-of-a-kind blocks in only minutes. What's more? Each time they piece these blocks together it feels like experiencing something new. The Stack-n-Whack process has revolutionized how we quilt - allowing us to get creative with our designs without having to sacrifice any of our valuable time!
Let's dive into the fascinating world of the Four Patch Posies quilt pattern, a type of Stack-n-Whack. You must cut four repeats of at least 12 inches to begin. Now you can have fun experimenting with different arrangements for your four squares and create truly unique patterns! Admittedly, these photos here aren't the most beautiful in my collection – but they are great examples that demonstrate how easy it is to arrange these repeating shapes.
By following the 11 ¾ inch repeat, I was able to create small blocks of 2 ¾ inches. There are four potential arrangements for these small squares when grouped into one large block. Upon closer inspection, you can observe the blue rectangles, yellow lines, and dotted backgrounds that were used in combination with each other throughout both blocks - particularly within Block 1 where petals also appear at its center area! Such clever utilization of elements created an unmistakable difference between Blocks 1 and 2!
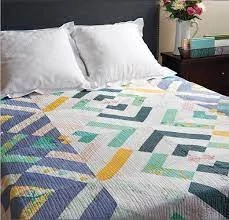
If you're looking to add a bit of flair and character to your quilting project, consider using an online pattern! Whether or not you choose to sash it is up to you; I love the look of borders so I always include them. Check out my completed quilt below - navy and coral are two colors that have become staples in my work, which meant this masterpiece had no choice but for me to keep it!


